
In the last part, we completed the Laravel Breeze API installation and validated the API using the Breeze Next front end.
In this blog, we going to test the API using the Postman application.
About Postman
Postman is software used to test the API by sending and receiving the request with multiple data formats along with auth.
Postman is an API platform for building and using APIs. Postman simplifies each step of the API lifecycle and streamlines collaboration so you can create better APIs — faster.
Install Postman
Click here and complete your Postman installation. After installation opens the Postman application.
Create a new Postman Collection
Click the create new button
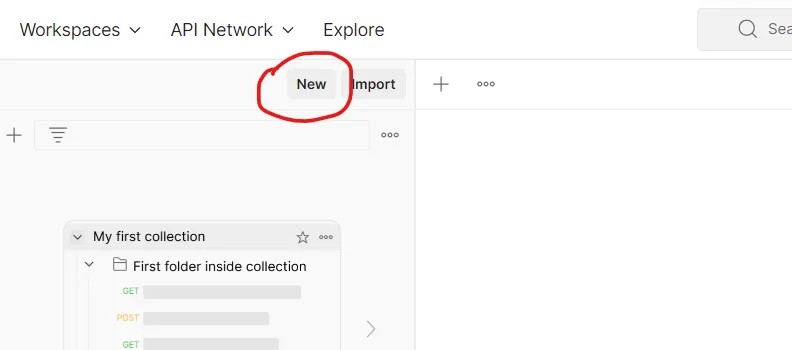
In the popup window click the collections
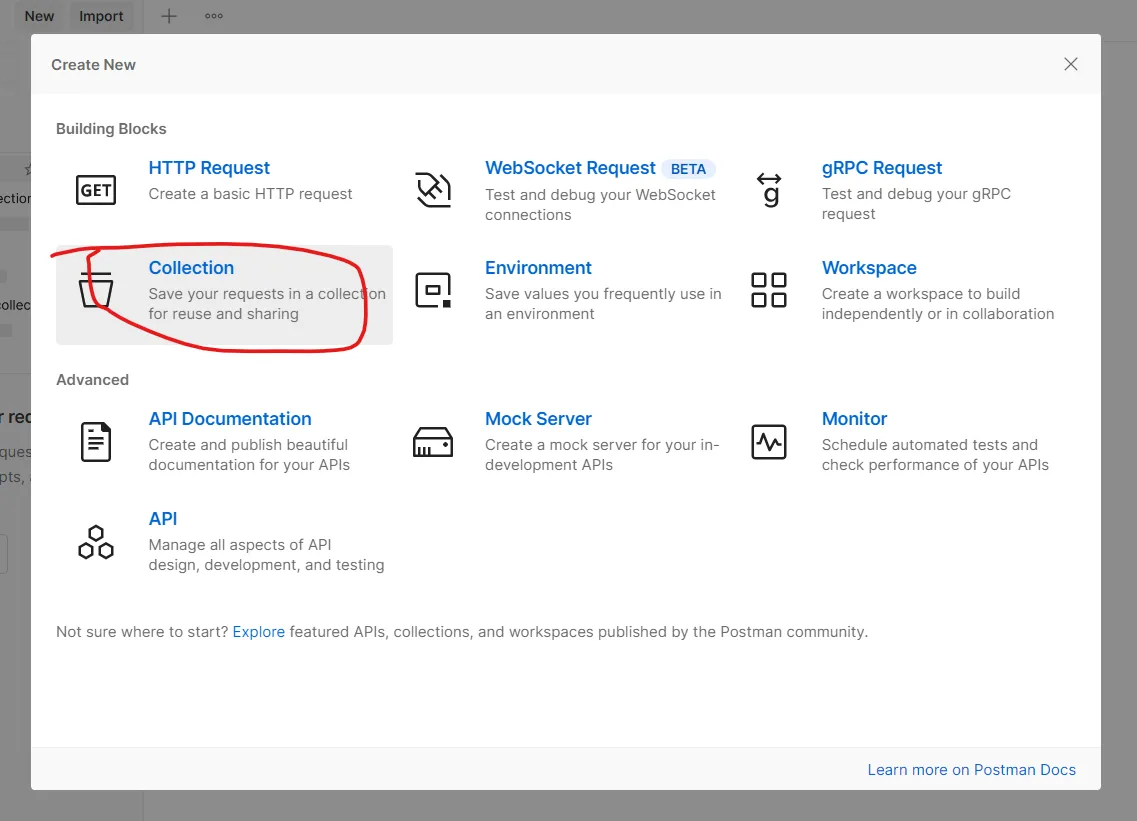
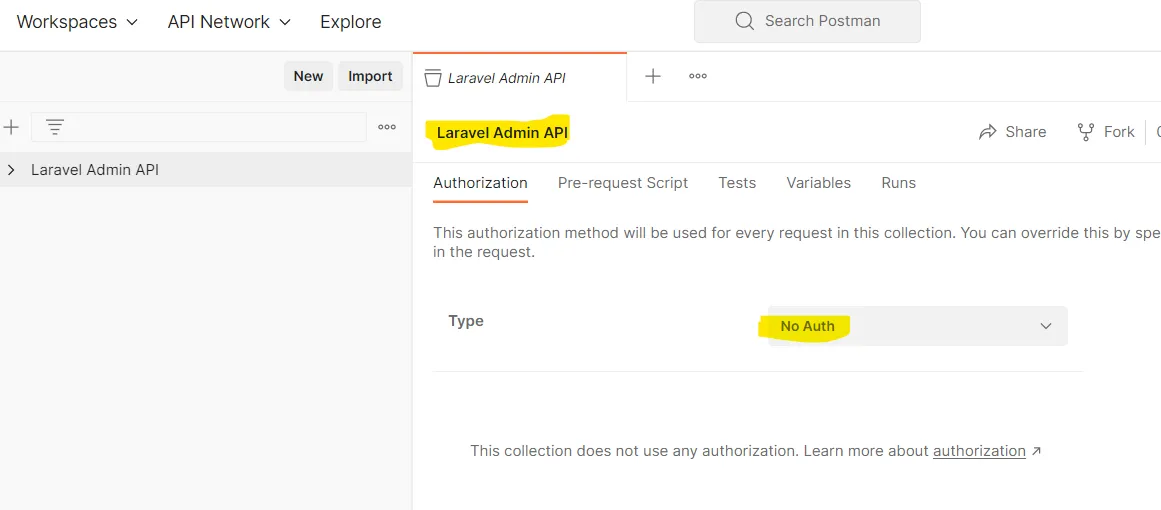
Enter the name “Laravel Admin API” and select auth type that is No auth.
Pre-request Script
In the Laravel Sanctum, we used SPA authentication. So it works by using Laravel’s built-in cookie-based session authentication services. So, we need to set the cookie for all the requests in Postman.
We can set the cookie by using the Postman Pre-request Script. Add the below code to Pre-request Script.
pm.sendRequest({
    url: pm.collectionVariables.get('base_url')+'/sanctum/csrf-cookie',
    method: 'GET'
}, function (error, response, {cookies}) {
    if (!error){
        pm.collectionVariables.set('xsrf-cookie', cookies.get('XSRF-TOKEN'))
    }
})
In this script, we used some variables. We will create variables in the next step.
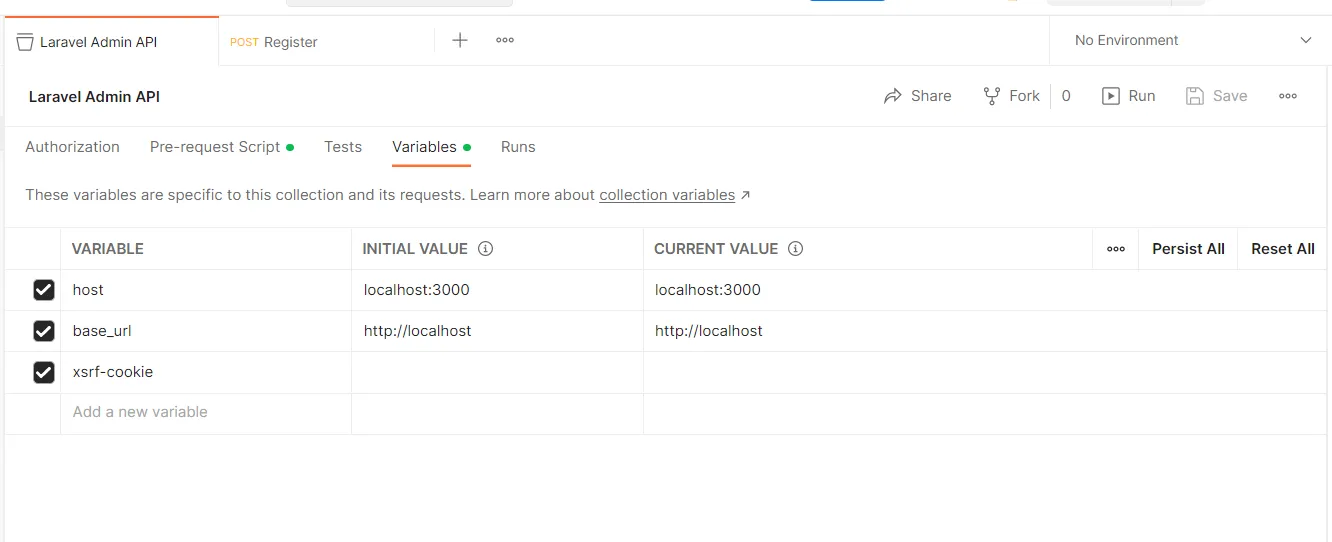
Postman Variables
Add the host, base_url, and xsrf-cookie variables in the Postman variables section
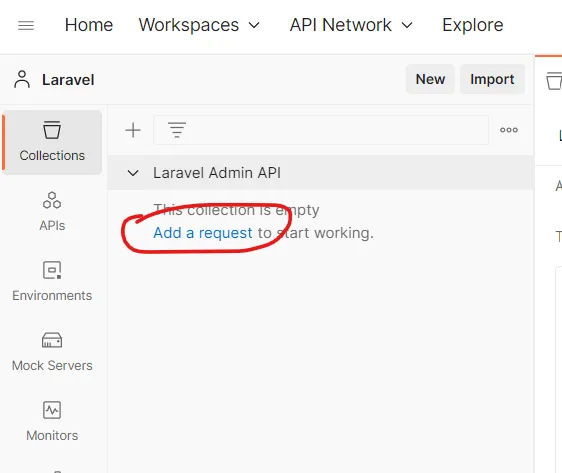
Postman Add Request
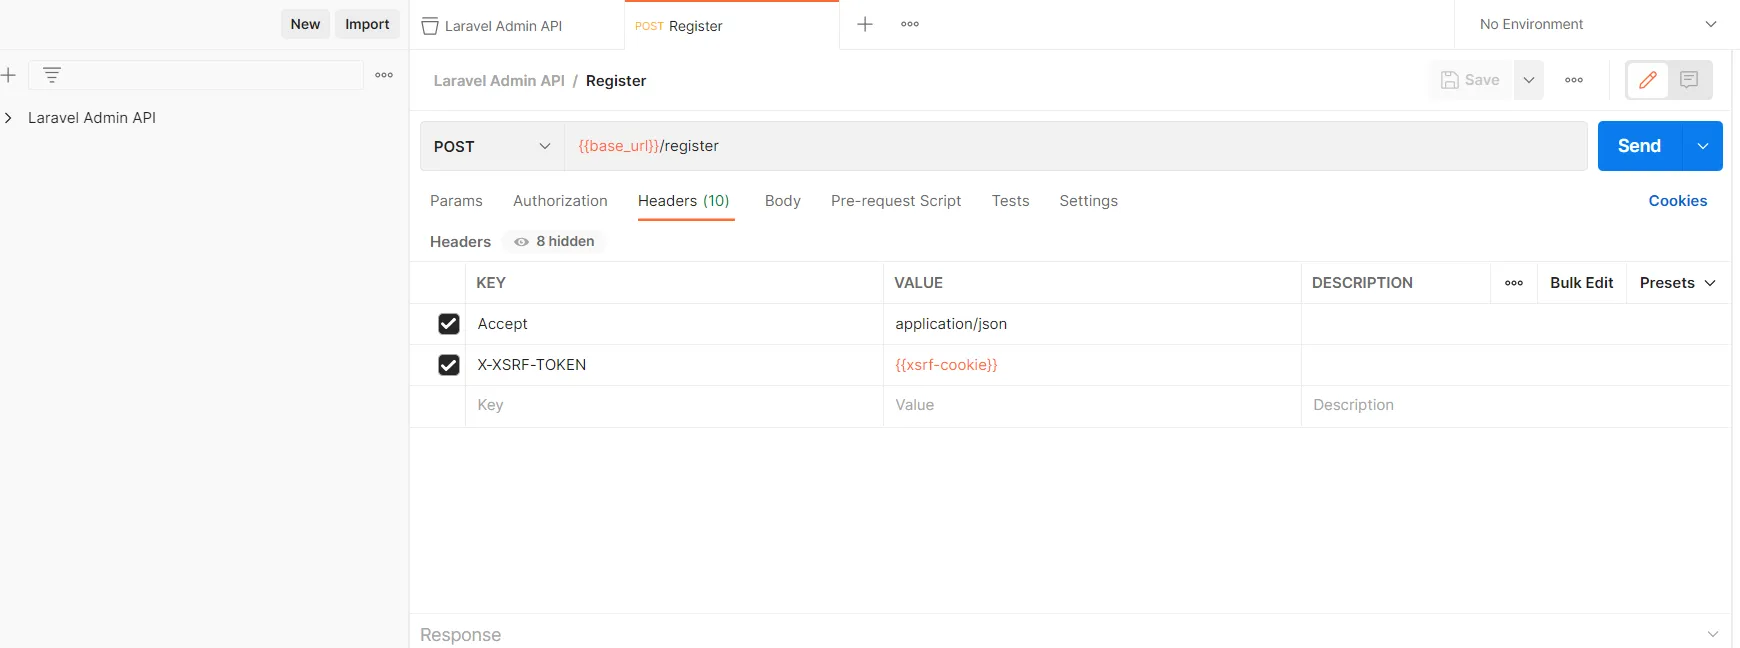
Click the “Add a request” link and create a new request for registration.
In the header section add the “Accept” and “X-XSRF-TOKEN” like below
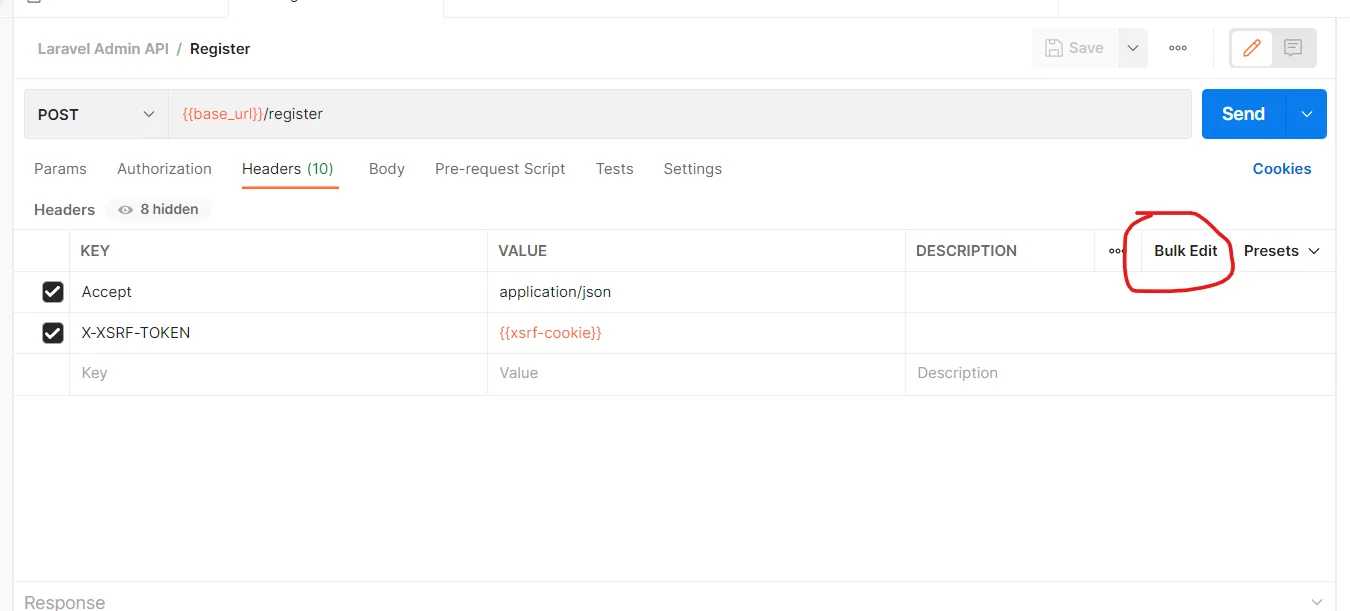
Also, you can add plain text values by clicking the “Bulk Edit”
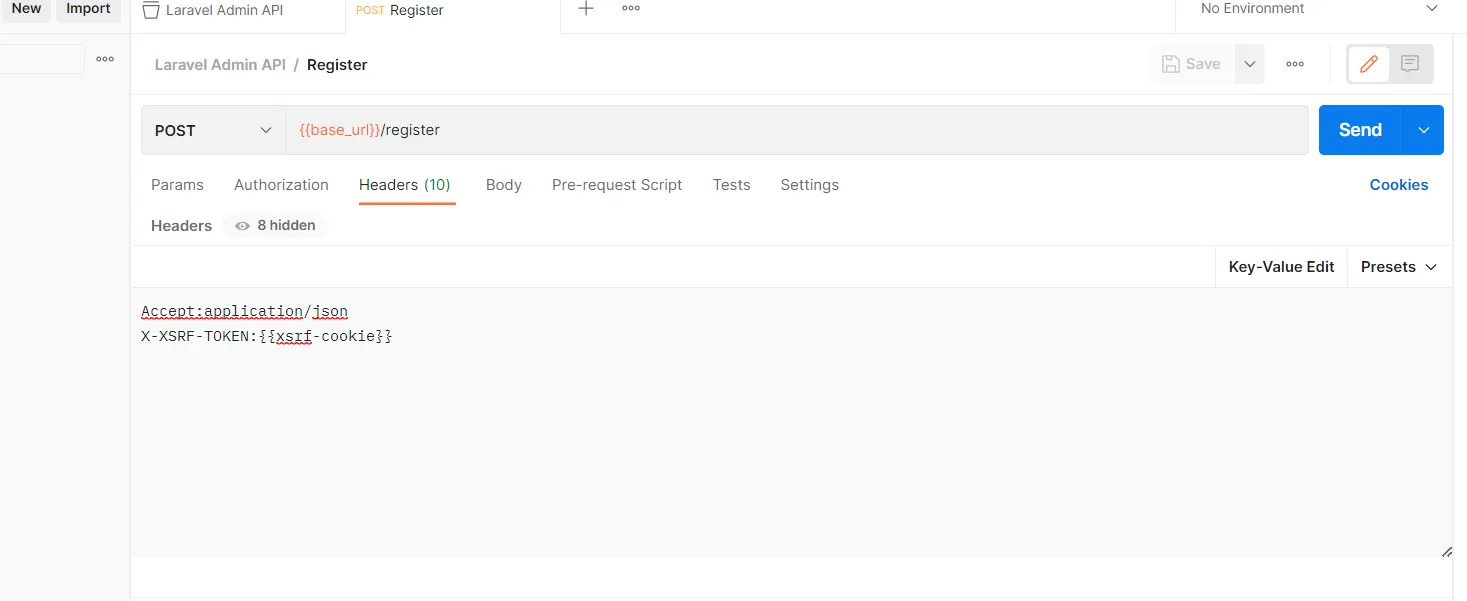
Accept:application/json
X-XSRF-TOKEN:{{xsrf-cookie}}
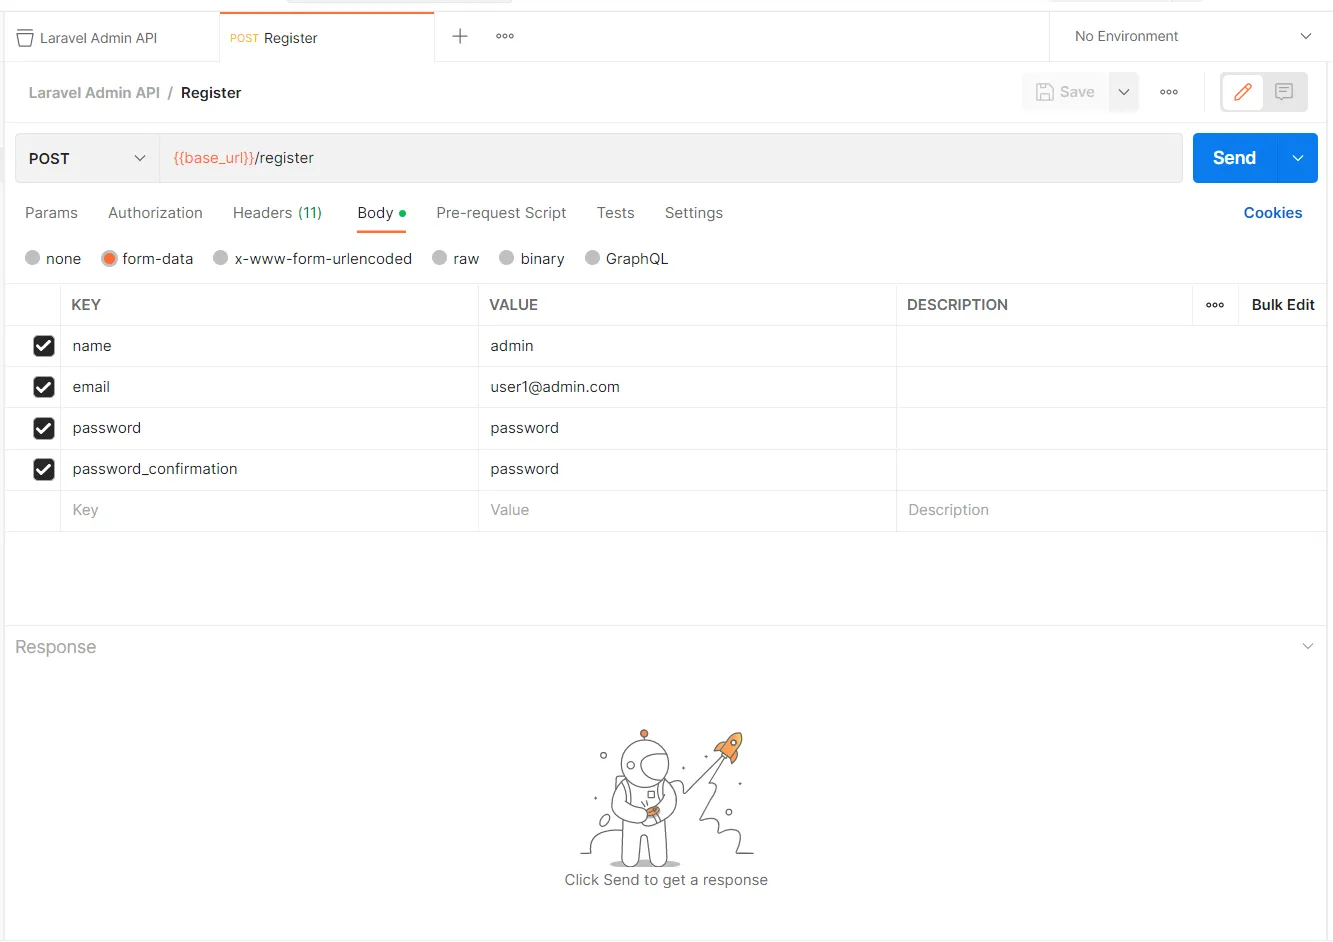
In the request Body, add the below values on form-data
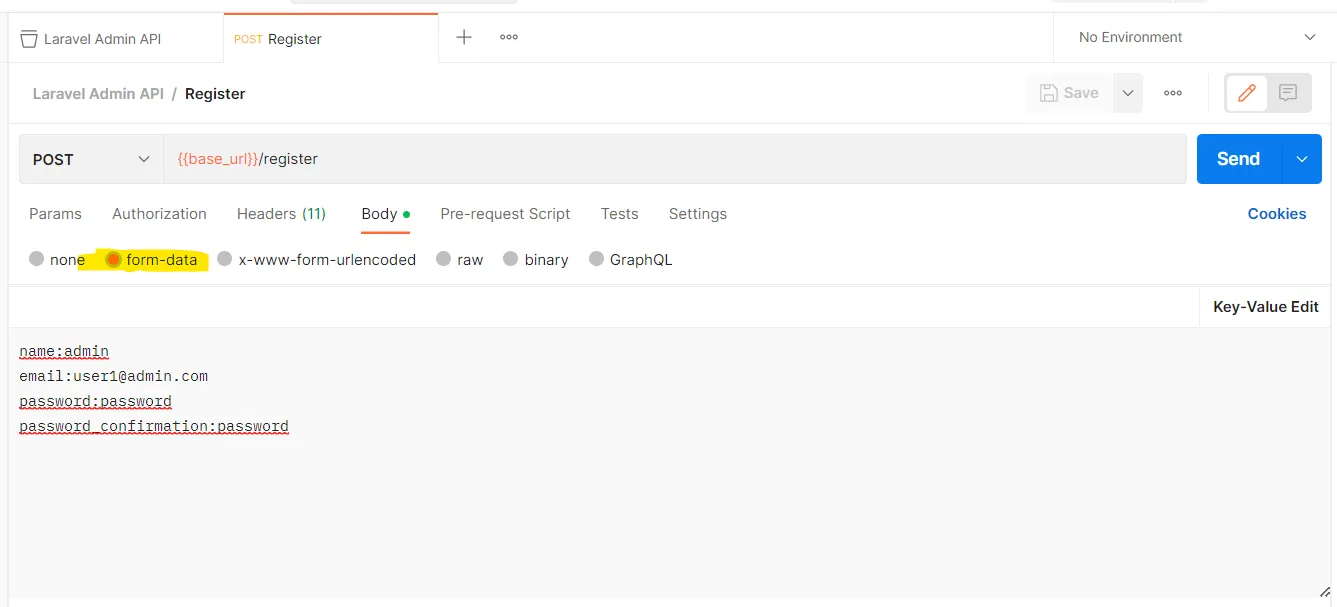
name:admin
email:user1@admin.com
password:password
password_confirmation:password
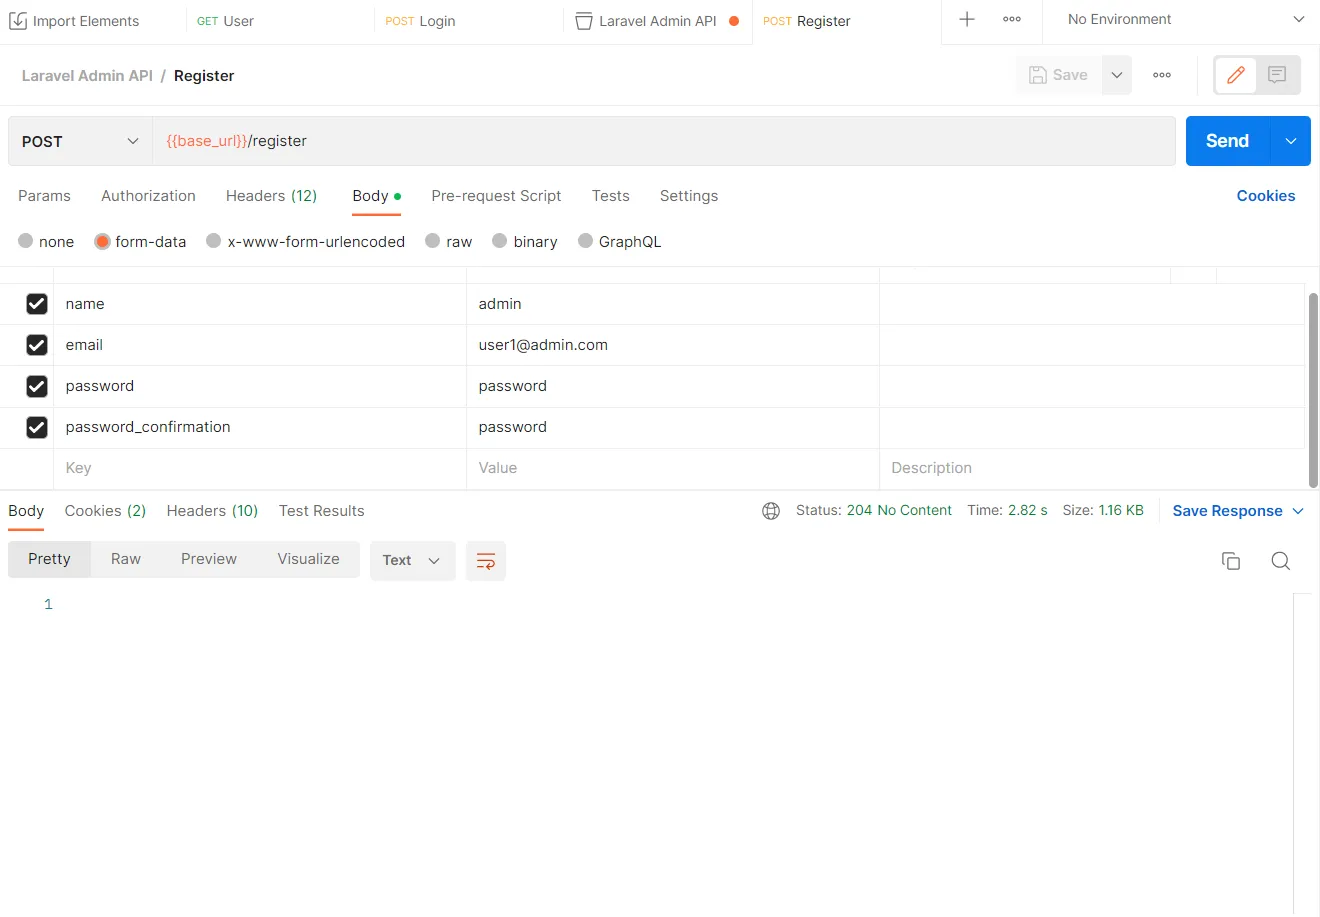
Register API request
Click the “send” button
You will get an empty response if the user is registered successfully
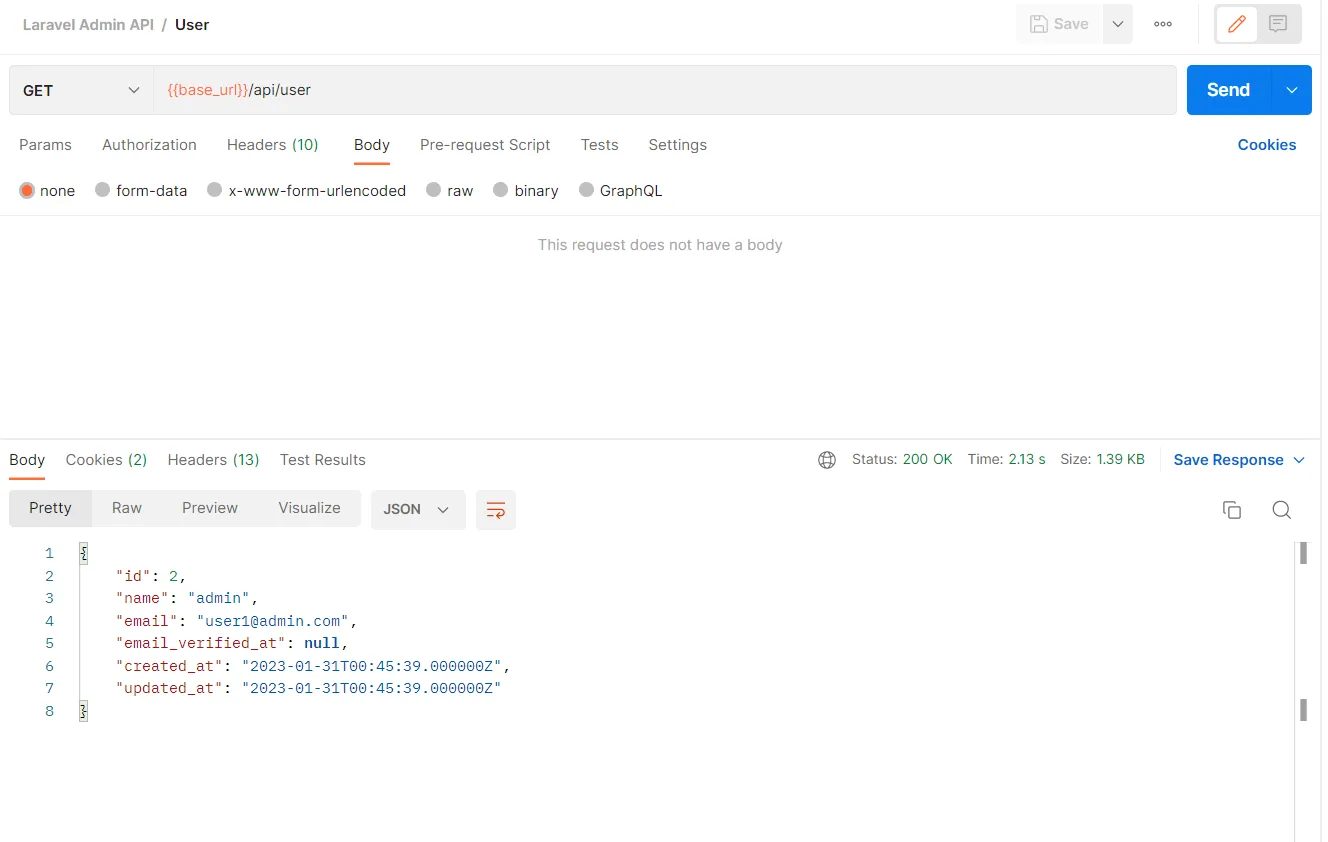
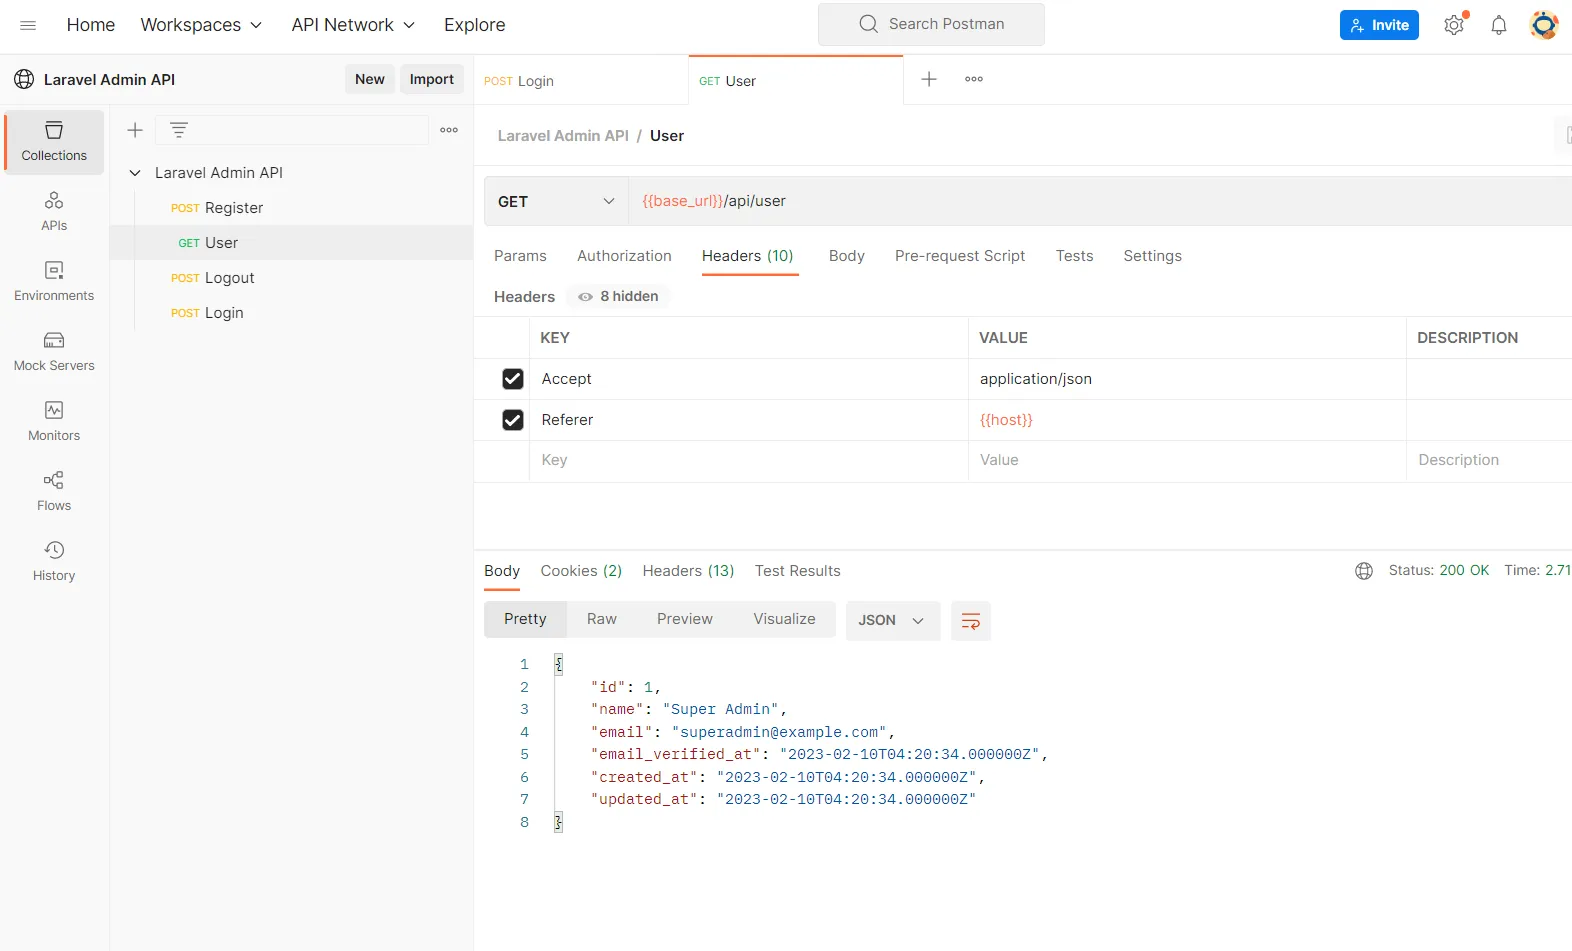
Get User API request
Now we going to create an API to get the current user details. Click and create a New Request with the get method.
The API URL is /api/user and also add the below headers.
Accept:application/json
Referer:{{host}}
For this request, the body is none, and then click send the request. You will get the current user details in the response.
Logout Request
Create the logout request with /logout URL with the post method. Also, add the headers.
Accept:application/json
X-XSRF-TOKEN:{{xsrf-cookie}}
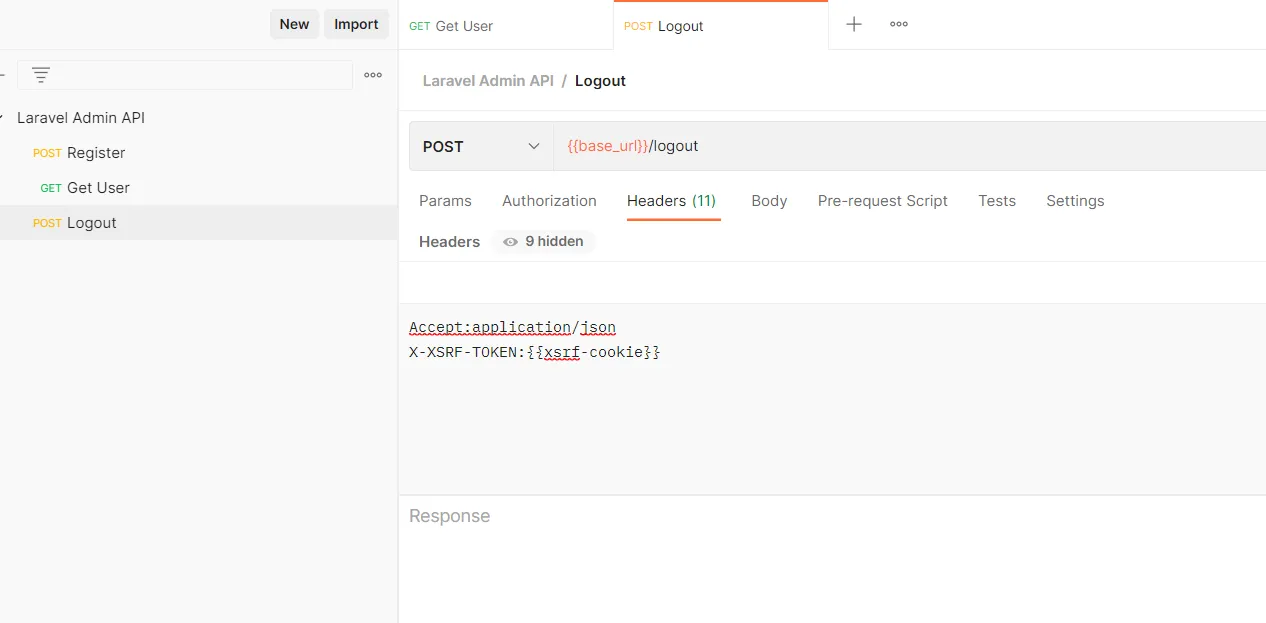
You will get an empty response after sending the request.
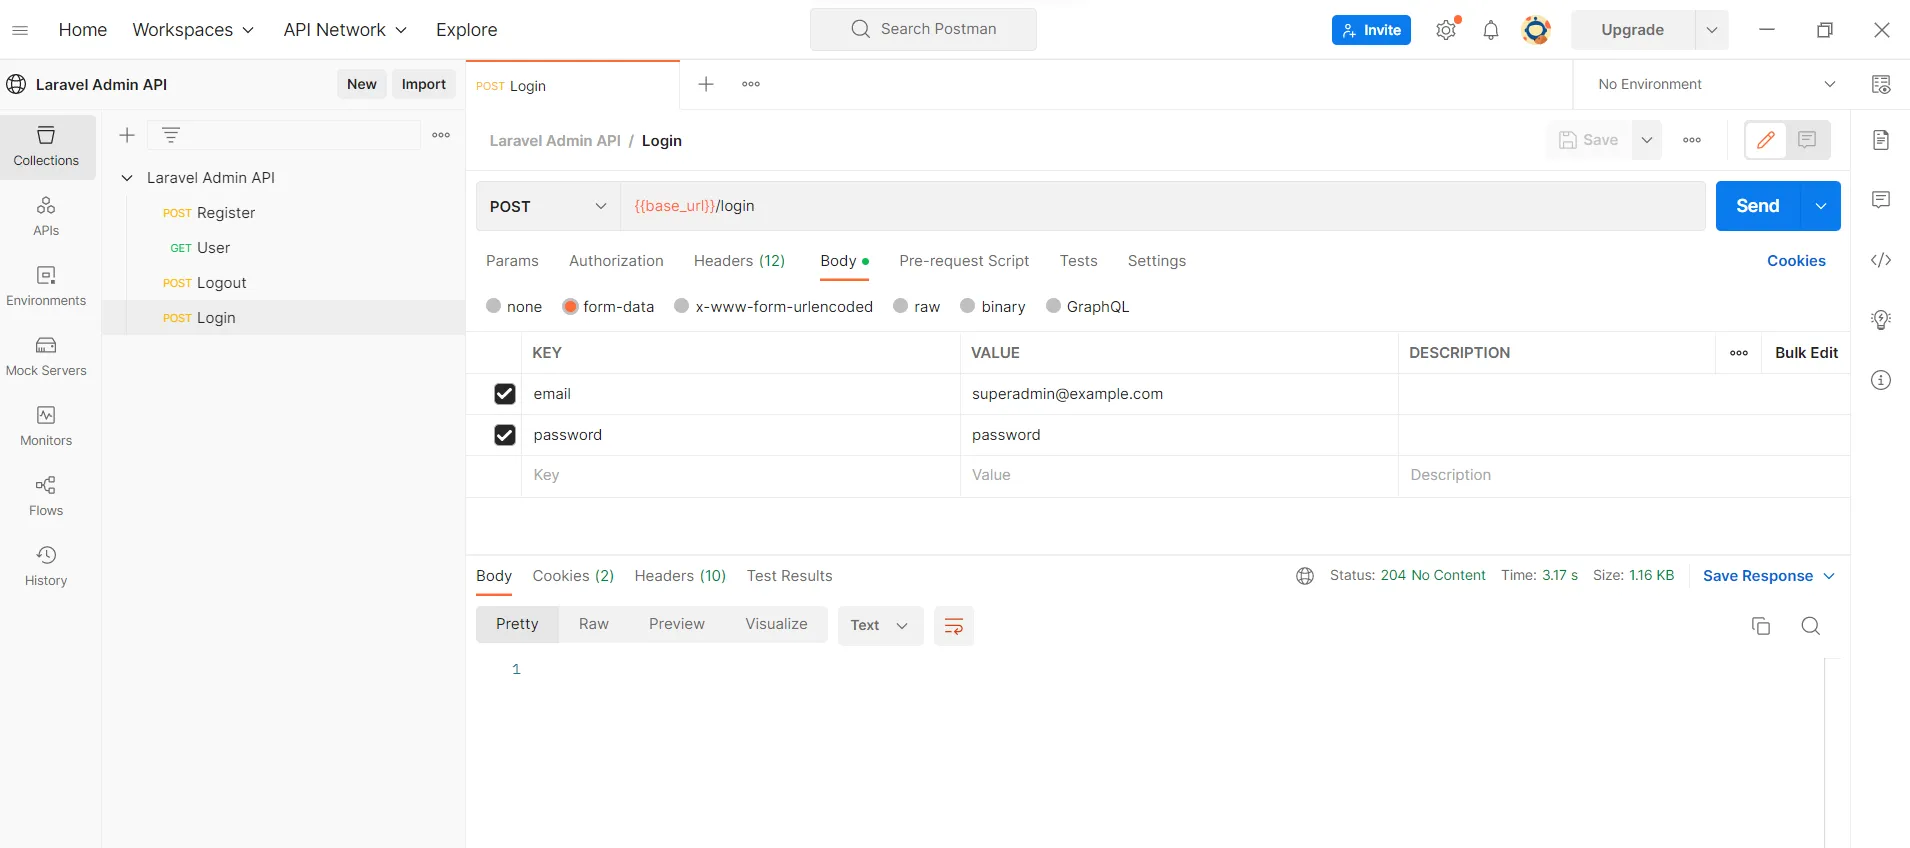
Login Request
We have completed the user register, get the user, and logout. Only login is pending.
Header
Accept:application/json
X-XSRF-TOKEN:{{xsrf-cookie}}
Body: Select form-data and insert the below values
email:user1@admin.com
password:password

We have created 4 requests in Postman and validated our Admin API. You can import the below-exported data and use it in the Postman. Next part we add permission and roles to our admin API.
{
 "info": {
  "_postman_id": "6822504e-2244-46f9-bba8-115dc36644f6",
  "name": "Laravel Admin API",
  "schema": "https://schema.getpostman.com/json/collection/v2.1.0/collection.json",
  "_exporter_id": "25059912"
 },
 "item": [
  {
   "name": "Register",
   "request": {
    "method": "POST",
    "header": [
     {
      "key": "Accept",
      "value": "application/json",
      "type": "text"
     },
     {
      "key": "X-XSRF-TOKEN",
      "value": "{{xsrf-cookie}}",
      "type": "text"
     }
    ],
    "body": {
     "mode": "formdata",
     "formdata": [
      {
       "key": "name",
       "value": "admin",
       "type": "text"
      },
      {
       "key": "email",
       "value": "user1@admin.com",
       "type": "text"
      },
      {
       "key": "password",
       "value": "password",
       "type": "text"
      },
      {
       "key": "password_confirmation",
       "value": "password",
       "type": "text"
      }
     ]
    },
    "url": {
     "raw": "{{base_url}}/register",
     "host": [
      "{{base_url}}"
     ],
     "path": [
      "register"
     ]
    }
   },
   "response": []
  },
  {
   "name": "User",
   "request": {
    "method": "GET",
    "header": [
     {
      "key": "Accept",
      "value": "application/json",
      "type": "text"
     },
     {
      "key": "Referer",
      "value": "{{host}}",
      "type": "text"
     }
    ],
    "url": {
     "raw": "{{base_url}}/api/user",
     "host": [
      "{{base_url}}"
     ],
     "path": [
      "api",
      "user"
     ]
    }
   },
   "response": []
  },
  {
   "name": "Logout",
   "request": {
    "method": "POST",
    "header": [
     {
      "key": "Accept",
      "value": "application/json",
      "type": "text"
     },
     {
      "key": "X-XSRF-TOKEN",
      "value": "{{xsrf-cookie}}",
      "type": "text"
     }
    ],
    "url": {
     "raw": "{{base_url}}/logout",
     "host": [
      "{{base_url}}"
     ],
     "path": [
      "logout"
     ]
    }
   },
   "response": []
  },
  {
   "name": "Login",
   "request": {
    "method": "POST",
    "header": [
     {
      "key": "Accept",
      "value": "application/json",
      "type": "text"
     },
     {
      "key": "X-XSRF-TOKEN",
      "value": "{{xsrf-cookie}}",
      "type": "text"
     }
    ],
    "body": {
     "mode": "formdata",
     "formdata": [
      {
       "key": "email",
       "value": "user1@admin.com",
       "type": "text"
      },
      {
       "key": "password",
       "value": "password",
       "type": "text"
      }
     ]
    },
    "url": {
     "raw": "{{base_url}}/login",
     "host": [
      "{{base_url}}"
     ],
     "path": [
      "login"
     ]
    }
   },
   "response": []
  }
 ],
 "event": [
  {
   "listen": "prerequest",
   "script": {
    "type": "text/javascript",
    "exec": [
     "pm.sendRequest({",
     "    url: pm.collectionVariables.get('base_url')+'/sanctum/csrf-cookie',",
     "    method: 'GET'",
     "}, function (error, response, {cookies}) {",
     "    if (!error){",
     "        pm.collectionVariables.set('xsrf-cookie', cookies.get('XSRF-TOKEN'))",
     "    }",
     "})"
    ]
   }
  },
  {
   "listen": "test",
   "script": {
    "type": "text/javascript",
    "exec": [
     ""
    ]
   }
  }
 ],
 "variable": [
  {
   "key": "host",
   "value": "localhost:3000",
   "type": "string"
  },
  {
   "key": "base_url",
   "value": "http://localhost",
   "type": "string"
  },
  {
   "key": "xsrf-cookie",
   "value": "",
   "type": "string"
  }
 ]
}
Also, all the Request is available in below Postman public workspace


