
I’ve built a Laravel 7 client management application to manage complex billing for another much larger product. The application creates an invoice and dynamic line items (based on active features, licence overages, crazy pricing tiers, custom discounts and ad-hoc unique items) locally and then exports it to Xero via their API.
Using a daily scheduled job, the payment for these invoices are processed days later using Stripe (credit card or BECS) based on the respective client’s payment terms. A successful payment will then be applied to the invoice in Xero.
But what if a client pays their invoice before the payment due date, or if our in-house finance team make a change to the invoice once it’s in Xero? My application needs to know to ensure the client is not paying twice or paying the wrong amount when it’s picked up by the scheduled job.
Xero Webhooks to the rescue!
In Xero Developer you can set your app to subscribe to webhooks for both Invoices and Contacts. I have subscribed to invoice events only (update and create)… not that I care about create events.

There are a few things you need to configure in your application to satisfy Xero and safely accept payloads. This process is part of the Intent to Receive, which is essentially Xero checking you’re ready to accept payloads and that you’re verifying that the payloads are cryptographically correct.
Xero doesn’t want to be firing webhooks to something that’s not listening, so they will also rate limit based on how your application responds. Xero is expecting timely and accurate response codes (200 or 401).
“If we don’t receive an acceptable response when sending events we will continue retrying the request, with decreasing frequency for up to 24 hours. After 24 hours the webhook will be disabled and needs to be re-enabled.”
There are a few parts to this process, so follow this article and the instructions in order and you should have a relatively pain-free time configuring your application.
Add the webhook key to your .env file
Grab your Xero App’s Webhook key.

You will likely already have your Xero Client ID and Client Secret in your .env file, so create a new environment variable for XERO_WEBHOOK_KEY.
Add a new key-value pair to your config file for Xero.
‘signing_key’ => env(‘XERO_WEBHOOK_KEY’),

Use middleware to verify the payload
Abstract the request signature verification process to route middleware to ensure the payload is correctly signed.
In Terminal, use Artisan to create a new middleware:
php artisan make:middleware VerifyXeroToken
Add a new key-value pair to your route middleware array in Kernal.php.
‘verify_xero’ => \App\Http\Middleware\VerifyXeroToken::class,

In hindsight, it would have been more accurate if I named this middleware ‘VerifyXeroSignature’.
In Terminal, use Artisan to create a new Controller to handle the webhook events:
php artisan make:controller XeroWebhookController
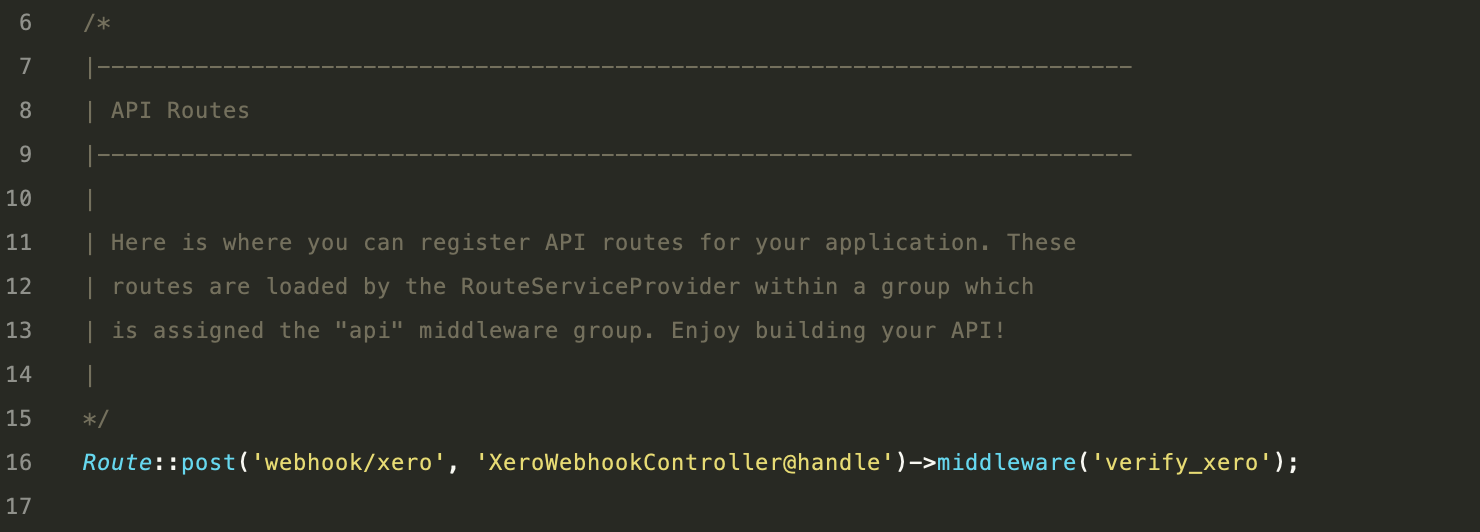
Create a new route in api.php for the incoming webhooks. Assign your new middleware to this route.
Route::post(‘webhook/xero’, ‘XeroWebhookController@handle’)->middleware(‘verify_xero’);
Create a public URL using Ngrok for testing configurations
You will need to have a public URL to receive webhooks from Xero. This is made extremely easy with Laravel using a service called Ngrok via Valet (if you’re a Mac user). Ngrok will create a public URL and tunnel traffic to your localhost.
In Terminal, run the following command (Mac users):
valet share
You’ll be presented with this beauty. Don’t be concerned if you see some other connection success/failure information here. Those will clear out once you start receiving HTTP requests.

The generated ‘Forwarding’ URL is your new public URL. Copy the https version of the URL and add it to the ‘Send notifications to’ section of your Xero App’s Webhook settings.

Press ‘Save’, but hold off on sending the ‘Intent to receive’ until your middleware and Controller are both configured.
Configure your middleware
In the handle method, we’re going to create a key using the payload contents and our application’s assigned signature key. We’ll then compare that to the signature key provided by Xero in the request header. If they don’t match, we need to return a 401, otherwise, the request can pass through to the next step.

After successfully passing through the middleware, the request will be routed to your controller. For testing purposes, simply return a 200 response to Xero without evaluating the payload any further.
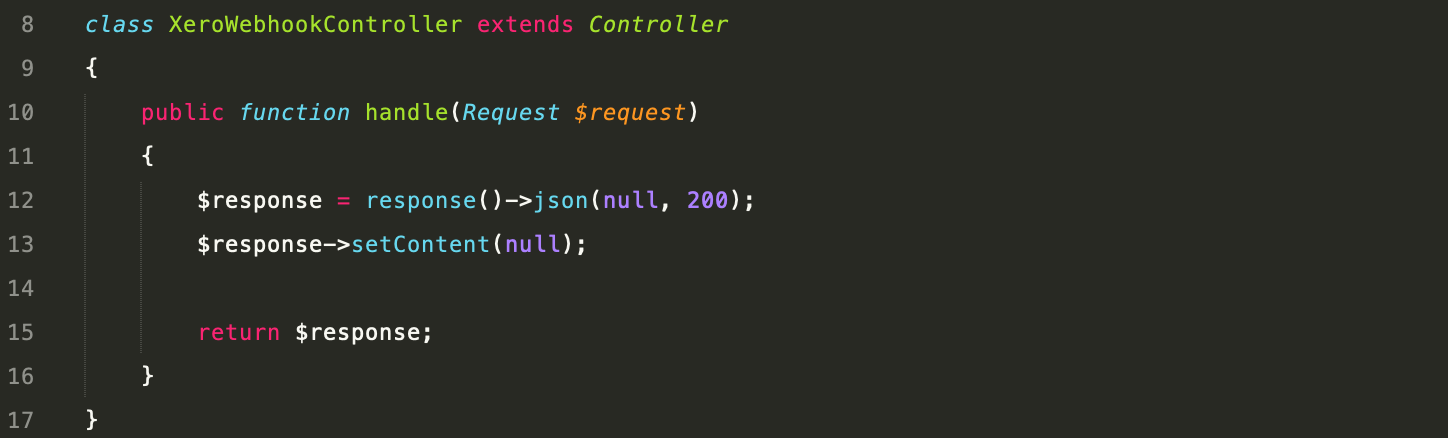
Once you have successfully passed the ‘Intent to receive’ process, you can build out this Controller to handle the payload.
Send the Intent to Receive
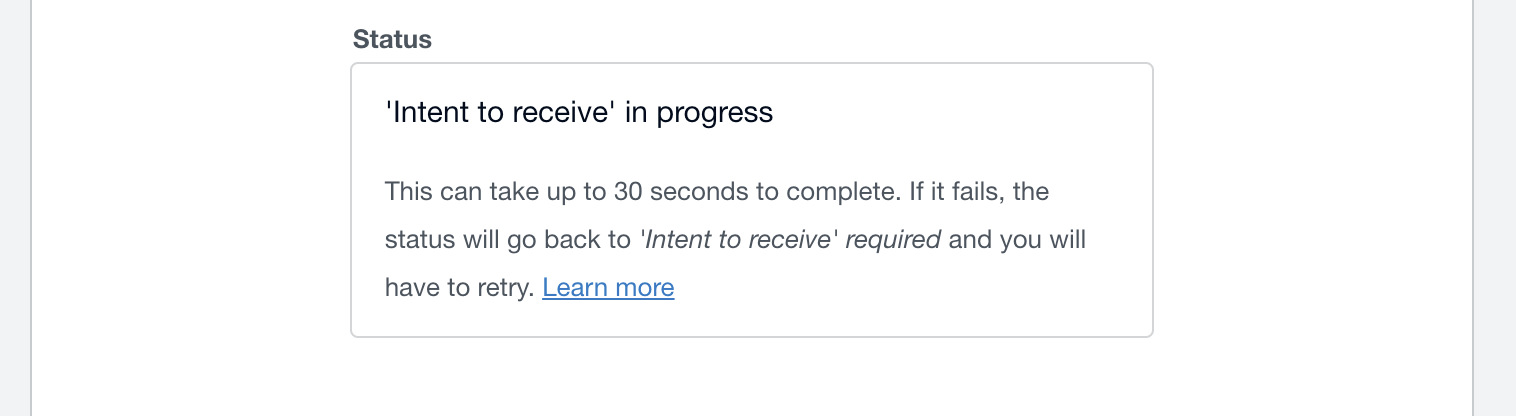
You’re now ready to send the intent to receive. Press ‘Send Intent to receive’.

Xero will send multiple webhook events to your endpoint to verify your configuration.
In my Terminal screenshot above, you can that I received 4 events and only 1 of them was a correctly signed payload.

Xero is now satisfied, so you’re ready to build your Controller.
Process the request
You’re now through the hardest part and can process the payload events as you wish!
In the Controller handle method, I’m iterating over the payload events and actioning only the invoice update events. For each event, I save the payload to the database for future reference.
Because Xero expects a response within 5 seconds and the payload contains very little information, I need to make a call back to Xero to get the current invoice version. These calls could take some time and I can’t keep Xero waiting, so I dispatch the processing to a queue using a job I’ve called SyncXeroInvoice.
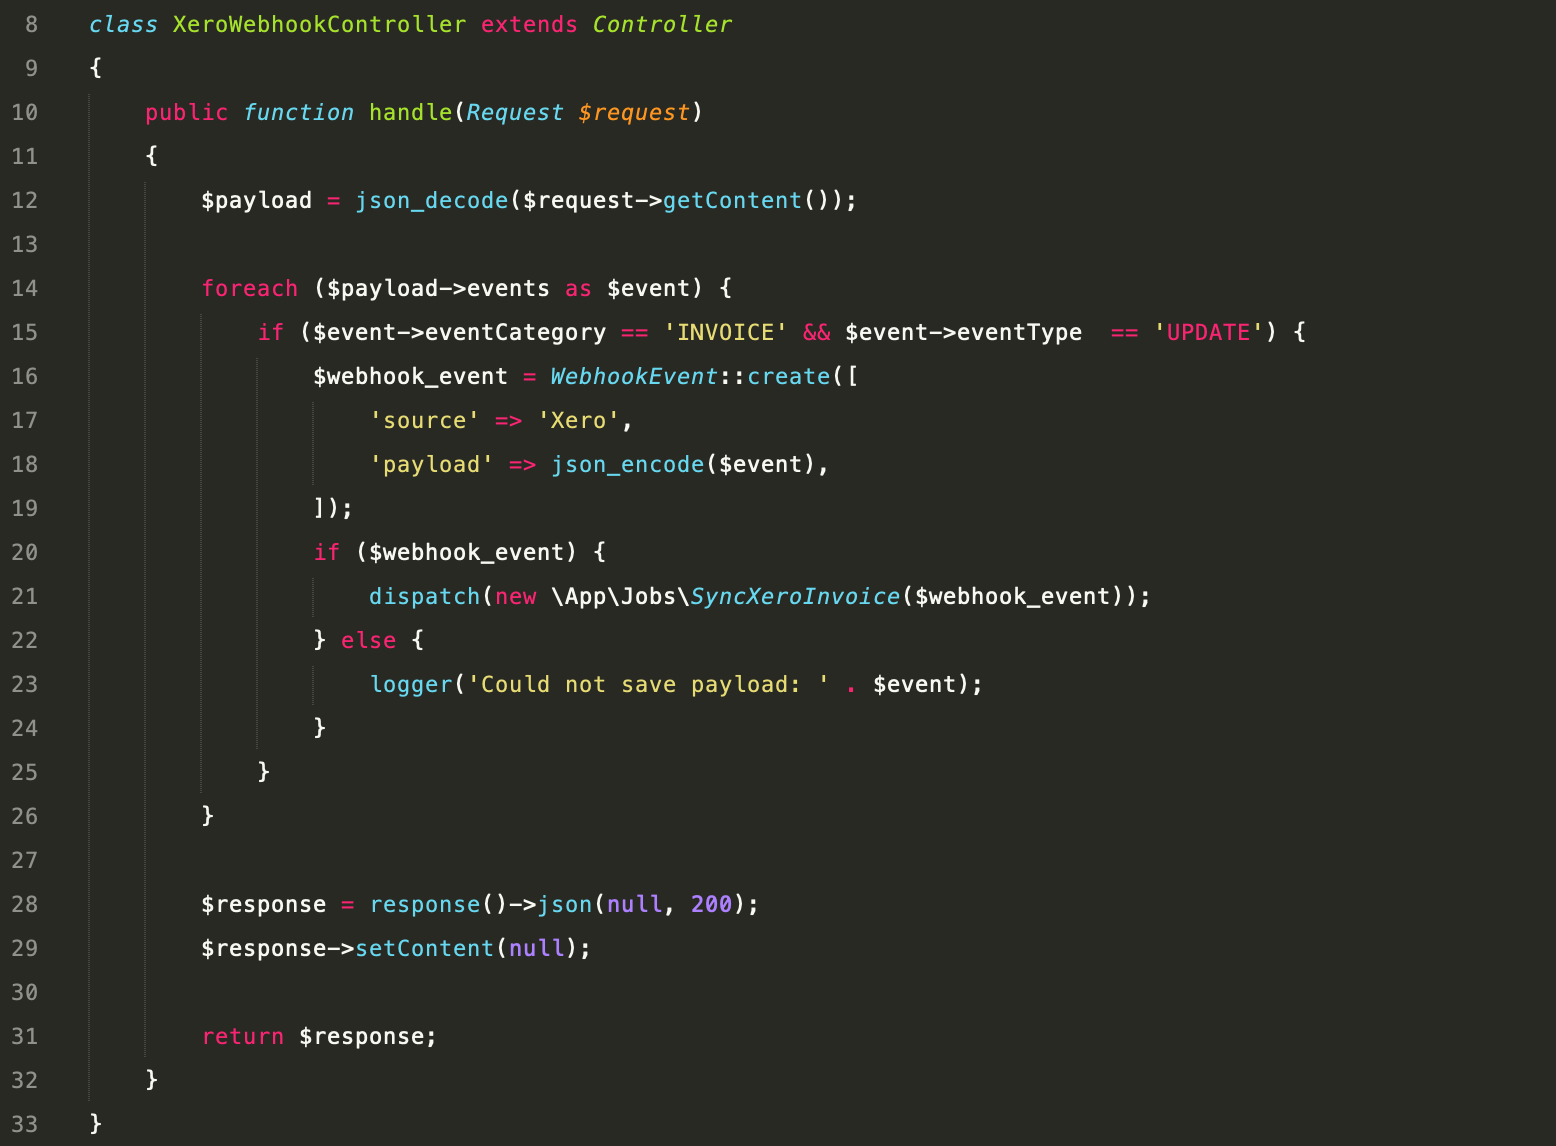
After iterating through the events, I return a successful 200 response with an empty body as per Xero’s requirements.
By now the SyncXeroInvoice job is processing in the background. My local invoice will be updated with the latest line items and payments information from Xero.
When it comes time to process a payment for this invoice, my application will now have the correct information.
Hopefully, this article helps you implement webhooks in your application. Let me know if you have any comments or feedback. Happy coding!
Tip: Use Postman during testing
If your application doesn’t respond correctly to Xero (with a 401 or 200), Xero will rate-limit the sending of webhook events.
While you’re building out your Controller, I recommend replicating a successful request payload into a tool like ‘Postman’.
In the Terminal screenshot above, you will notice there’s a web interface for Ngrok (mine is http://127.0.0.1:4040).
From the Ngrok menu, select ‘Inspect’. Here you will find each request, related JSON payload and the x-xero-signature header.
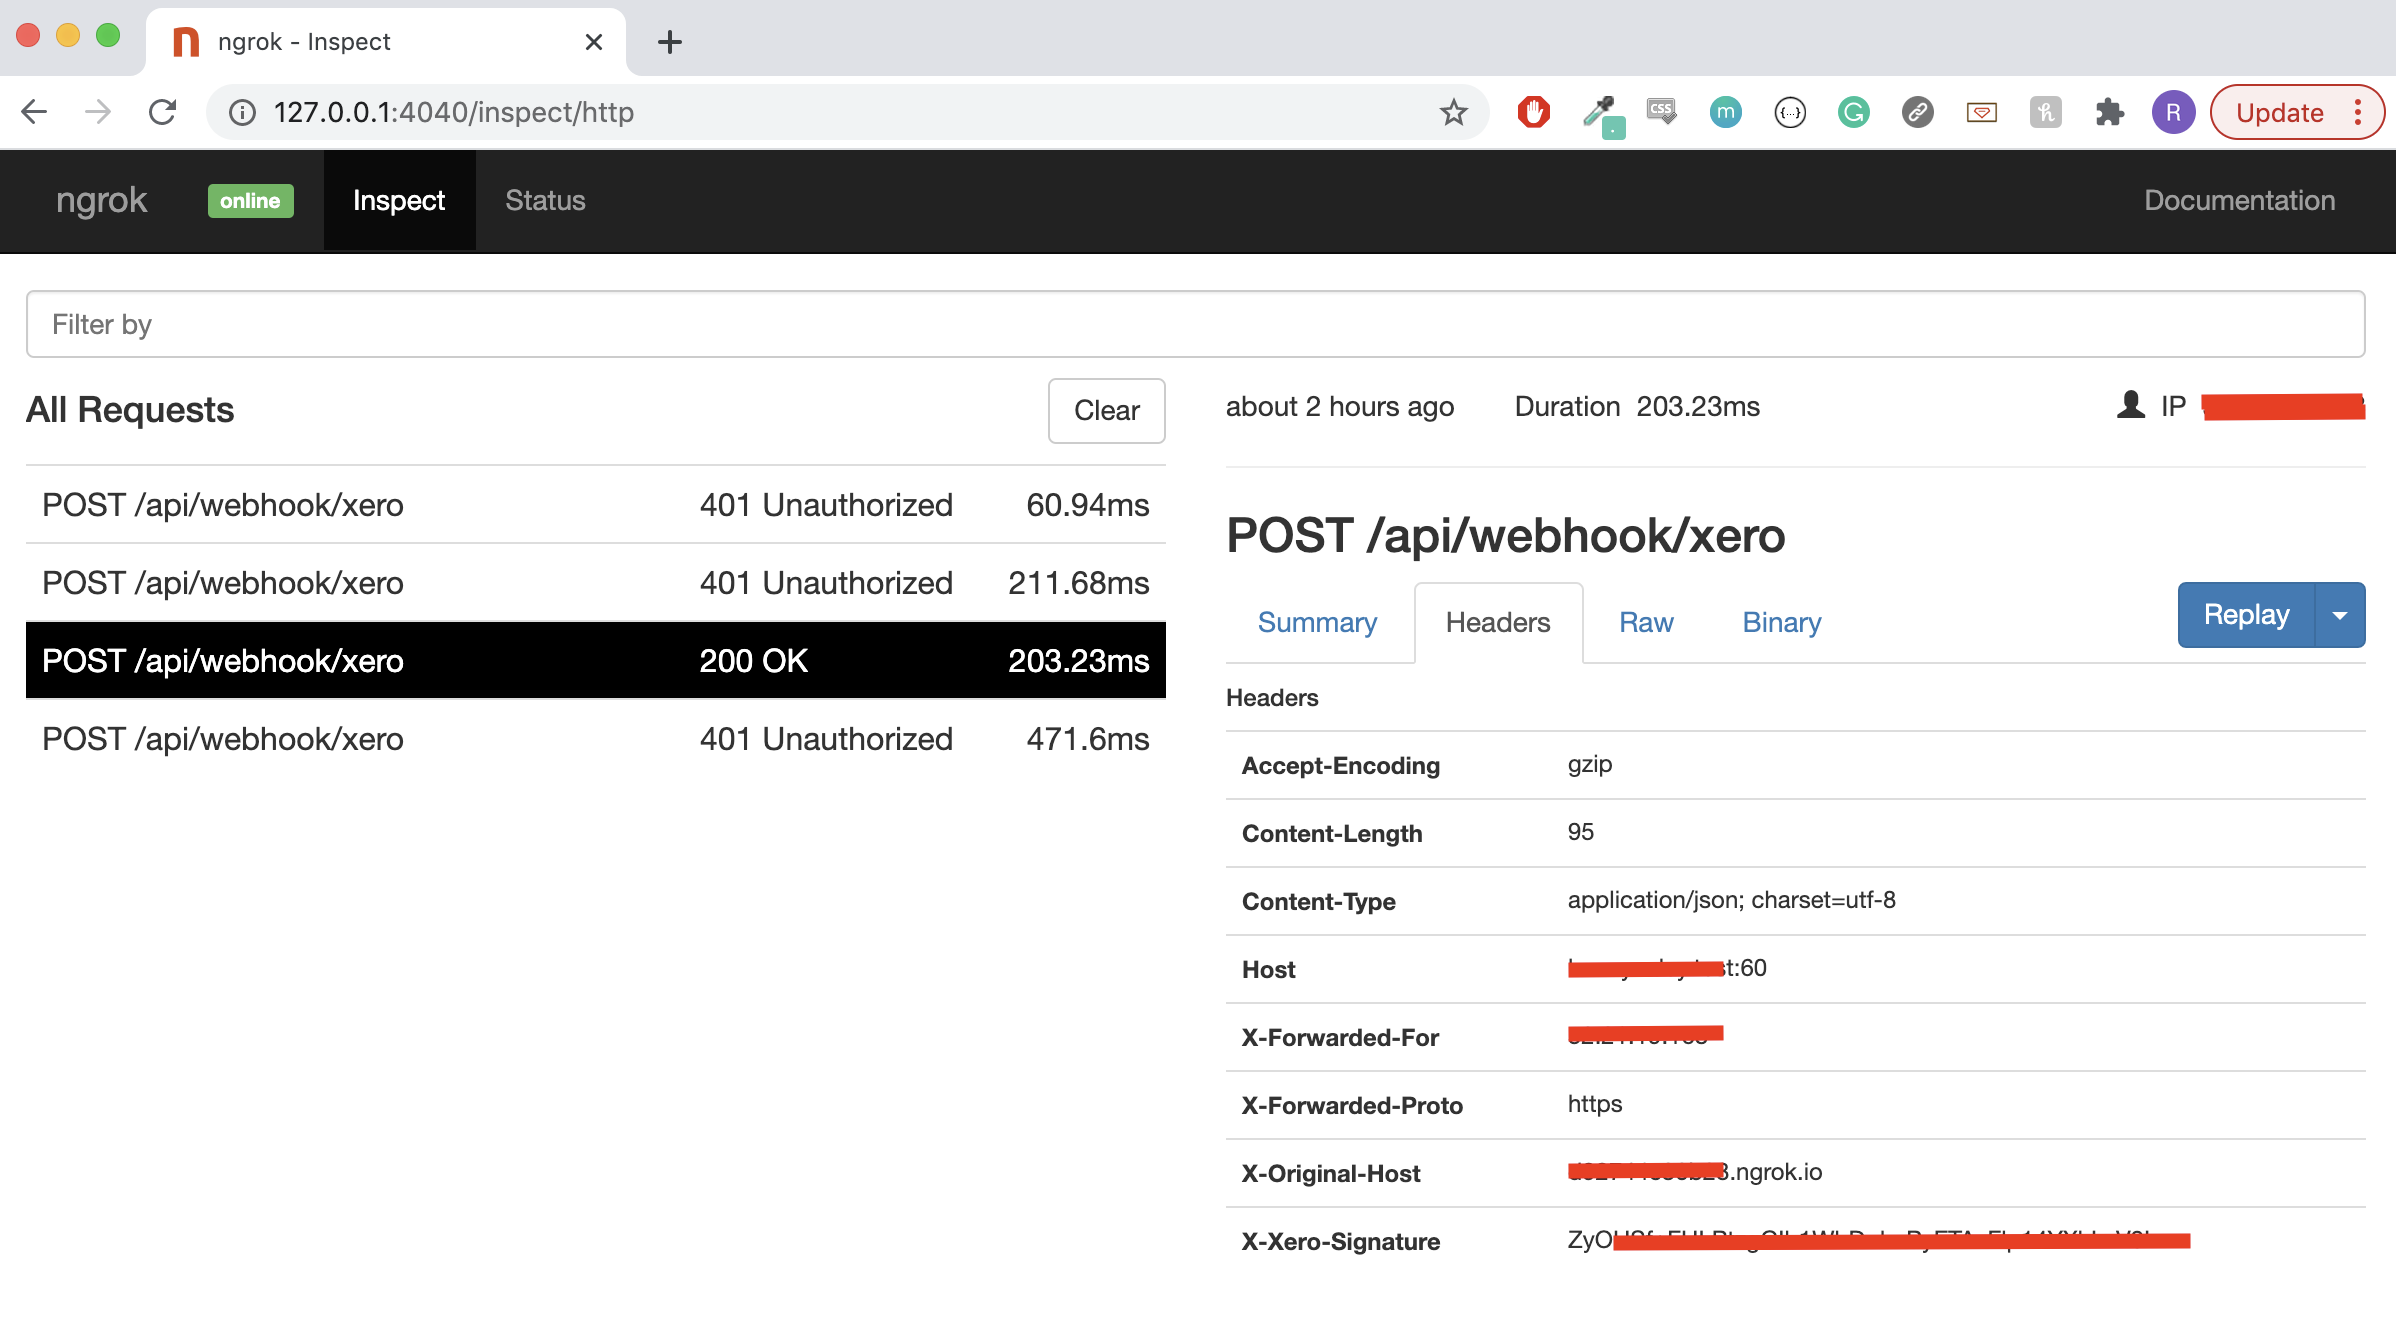
Grab the payload, the header and build the request in Postman. Send the same payload to your application as many times as you need!
Sign up for Top 10 Stories
By The Startup
Get smarter at building your thing. Subscribe to receive The Startup’s top 10 most read stories — delivered straight into your inbox, once a week. Take a look.Get this newsletter
By signing up, you will create a Medium account if you don’t already have one. Review our Privacy Policy for more information about our privacy practices.